The local music school had a need to test a bunch of audio cables (1/4" and XLR) in a hurry in preparation for the annual students' concert. Yes, it can be done with a multimeter but if you have lots of them to do this becomes very tedious very quickly. Sounds like a job for an Arduino
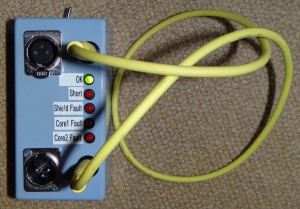
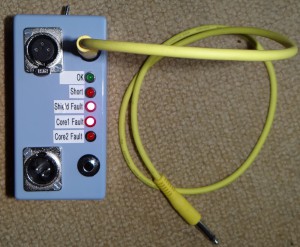
It does XLRs also...
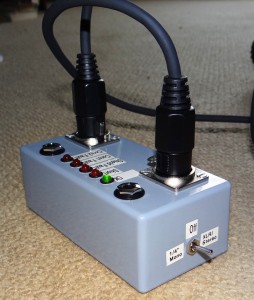
The work is all done by an Atmel Atmega mircocontroller
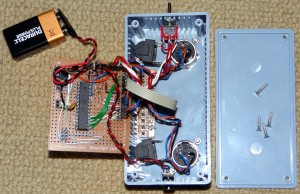
All of the development work is done in the Arduino environment. Once it was all working I just transferred the microcontroller onto a piece of perfboard (so that I could reuse the Arduino board for my next project). The connectors on the far-left of the board (connected to pins 1,2,3,7 and 8 ) allow the Arduino board to be used as a programmer (see http://arduino.cc/en/Tutorial/ArduinoToBreadboard). That link explains how to configure the Arduino to use the built-in 8MHz RC clock in the Atmega so no external crystal is required (neither accuracy nor flat-out CPU speed are remotely important in this application).
I also stuck a normal ICSP connector on it so that it can be programmed using a normal programmer (bottom-left corner). This is handy: once the code was complete I was able to blow the Arduino boot-loader away so that the sketch starts immediately rather than after a pause. The downside is that if I want to use an Arduino to program it again I need to reinstall the boot-loader (for which that ICSP header will be very useful !)
The source-code is posted here. The comments in the code list the required connections. I haven't bothered to draw a circuit-diagram but if anyone wants one just leave a note in the comments below and I will post it here.
